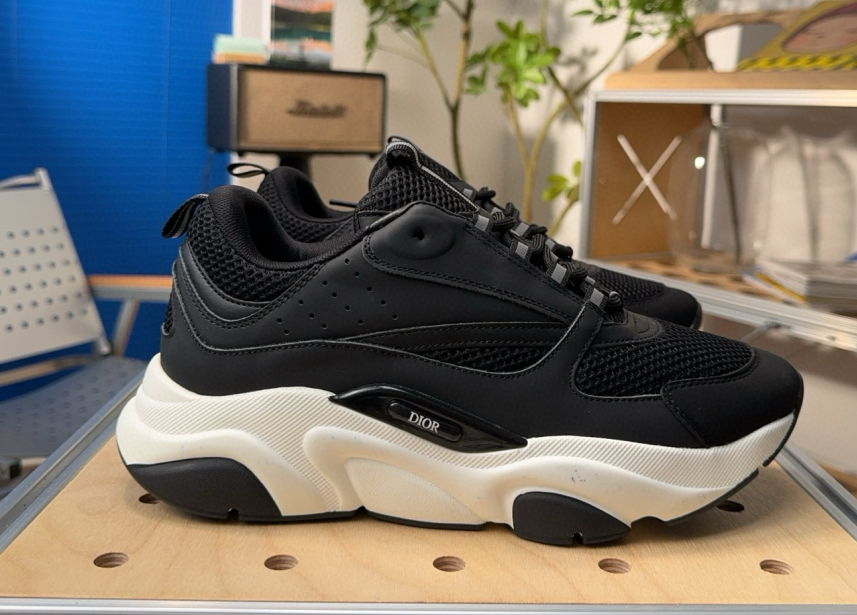
How do I repair a torn sneaker upper?
Sneakers, as an indispensable item in daily life, often face problems such as wear and tear, especially the upper part, which is prone to breakage due to frequent friction, crushing or accidental scratches. If your beloved sneaker upper is torn, there is no need to rush to replace it with a new pair. With a few simple methods and tools, you can completely repair it yourself, saving money and extending the life of your shoes. This article will take a closer look at how to repair a torn sneaker upper, including how to handle different materials, tools needed, specific steps, and precautions.
1. Understand the common materials of sports shoe uppers
Before starting the repair, first clarify the material of the upper. Different uppers require different repair methods. Common sneaker upper materials include:
Leather: Includes glossy leather and suede, which are wear-resistant but not easy to repair. Synthetic leather: cheap, soft but prone to cracking. Mesh: Breathable but prone to tearing. Nylon and Polyester: Lightweight and durable, but not easy to bond when torn. Fabric (Knit/Fabric): such as Nike Flyknit or Adidas Primeknit, etc., which have good elasticity but are difficult to repair.Understanding the upper material can help you choose the right repair tools and methods.
2. Prepare tools and materials
Depending on the upper material, the tools required for repair will vary. Here are some general and specialized tools:
Universal tools:
Scissors Needle and thread (sewing needle + strong thread) Sandpaper (for sanding edges) Cleaning cloth and detergent Rubber gloves (to prevent staining hands)Special materials (selected by material):
Leather/Synthetic Leather:
Leather-specific glue (e.g. Barge or Tandy Leather Eco-Flo) Patch cloth (leather or synthetic leather) Leather repair paste or stain (for color matching)Mesh/Nylon:
Fabric glue (e.g. E6000 or Shoe Goo) Elastic patch cloth (e.g. spandex or stretch fabric) Hot melt glue gun (optional)Fabrics (Flyknit, etc.):
Elastic patch fabric High-strength sewing thread Knitting stitching tools (such as knitted crochet hooks)3. Detailed explanation of the repair steps
Step 1: Cleaning and evaluation
Clean the upper thoroughly: Use a mild detergent and a soft cloth to wipe the upper clean to remove dust and stains, ensuring a clean patching area. Assess the extent of the damage: Confirm the location, size, and direction of the tear to determine if internal support or external patches are needed.Step 2: Prepare the patch
Cut patch material: Depending on the size of the torn area, cut out a patch cloth slightly larger than the tear (it is recommended to be about 1 cm larger). Sand the edges (for leather): Gently sand the edges of the leather with sandpaper to increase the adhesion of the glue.Step 3: Glue or stitch
Method 1: Adhesive method (suitable for mesh, nylon, synthetic leather) Apply glue: Apply an appropriate amount of glue to the back of the patch and the torn area of the upper of the shoe. Fit the patch: Aim the patch at the tear, gently pressing and holding for a few seconds, ensuring a snug fit. Pressing and fixing: You can press it down with a heavy object or secure it with tape to allow the glue to dry well (usually 6-12 hours). Method 2: Sewing method (suitable for fabrics, leather) Threading needle leads: Use high-strength sewing threads and needles, double thread threads to increase strength. Suturing the Split: Thread from the inside and suture along the edge of the split, with a “Z” or paperclip stitch method recommended to enhance firmness. Reinforcement patch: After the stitching is completed, another layer of patch cloth can be added to the inside or outside for further reinforcement.Step 4: Finishing and beautifying
Trim the excess: Trim off the edges of the patch cloth after the glue has dried or stitched completely. Color matching (for leather): Use leather stain or restoration paste to color the patches to match the original shoe color. Waterproof Treatment: Waterproof spray or shoe wax can be applied to the repaired area for added protection.4. Specific repair suggestions for different types of uppers
1. Leather upper tears
Leather upper repair is more complicated, and it is recommended to use leather glue + leather patch. If it is a small crack, it can also be filled with leather repair paste and polished.
2. Tearing of the synthetic leather upper
Synthetic leather is relatively simple to repair and can be glued with strong glue. Pay attention to choosing a patch cloth that is similar to the color of the upper to avoid obvious color difference.
3. 网眼布/尼龙鞋面撕裂
建议使用弹性织物补丁+织物胶进行粘合。若裂口较大,可内外各贴一块补丁加强结构。
4. Flyknit/Primeknit织物鞋面撕裂
这类鞋面弹性强,建议采用缝合+弹性补丁的方式修复。缝合时使用针织钩针效果更佳。
五、注意事项
选择合适的胶水:不同材料需要不同的胶水,错误使用可能导致修补失败。 通风良好:使用胶水时应在通风处操作,避免吸入有害气体。 耐心等待干燥:修补后必须等待足够时间让胶水完全固化,否则容易脱落。 避免过度拉扯:修补区域尽量避免在高拉伸区域,否则可能再次撕裂。 美观与功能兼顾:若修补影响外观,可考虑使用鞋套或鞋贴进行遮盖。六、何时应该放弃修补?
尽管大多数撕裂都可以通过上述方法修复,但以下几种情况建议考虑更换鞋子或寻求专业维修服务:
大面积撕裂:超过鞋面1/3面积的撕裂,修补效果不佳。 结构损坏:如鞋底与鞋面连接处撕裂,影响整体结构稳定性。 高档鞋款:如限量款、设计师联名款等,建议送往专业修鞋店处理,避免影响收藏价值。七、结语
修复撕裂的运动鞋鞋面不仅是一种经济实惠的选择,也是对环保和资源节约的积极实践。只要掌握正确的技巧和方法,大多数破损都可以得到有效修复。无论是日常通勤鞋还是心爱的收藏款,通过细心修补,都能让它们焕发新生。下次当你发现鞋面出现裂口时,不妨动手试试,或许你会发现修补的乐趣和成就感。
参考工具品牌推荐:
胶水:Barge All-Purpose Cement、E6000、Shoe Goo 补丁布:Tenacious Tape、Gear Aid 针线:Gütermann Sewing Thread、Coats & Clark 清洁剂:Jason Markk、Sole Savior通过本文的详细指导,相信你已经掌握了修复撕裂运动鞋鞋面的基本方法。快去拯救你那双“受伤”的运动鞋吧!
